Data Access Request Administrator Guide
A Principal Investigator (PI) can designate a representative from their lab or staff as an Administrator to submit a Data Access Request on their behalf.
To submit a request, the administrator must have an eRA commons ID. The PI will also need to provide their name and email address.
A PI can add multiple administrators to each of their Data Access Requests. Even after adding an administrator, the PI can still view and edit a request.
Administrators do not automatically receive data access for approved Data Access Requests they have permission to submit. If an administrator requires data access, they must be added as a data downloader. More information can be found here – https://dss.niagads.org/documentation/using-the-portal/data-downloader-user-guide/.
It is the responsibility of the PI to manage the administrator(s) that have access to their Data Access Requests.
Instructions for the PI to Add an Administrator
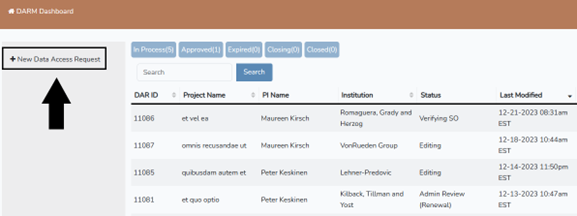
For a New Data Access Request: Log into the Data Access Request Management System (DARM) and click on “Access DARM”. Select the “New Data Access Request” button located on the left side of the screen. This will take you to a newly generated data access request.
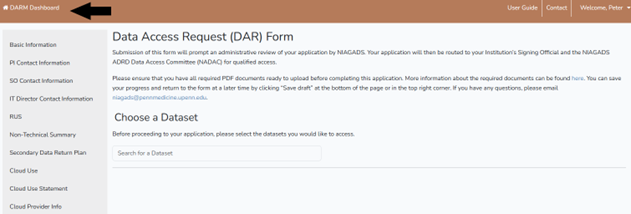
Now that the new DAR has been created, click the DARM Dashboard button on the top left of the page to go back to the home screen.
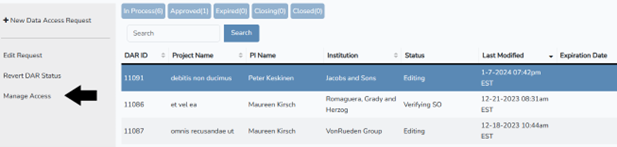
Select the New Data Access Request you created. Click the “Manage Access” button on the left.
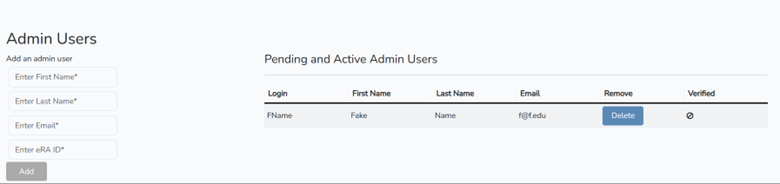
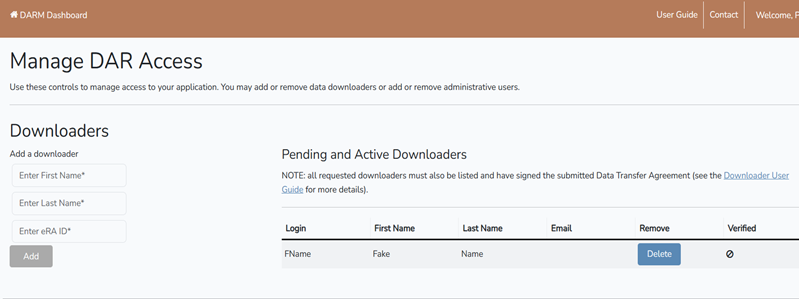
This will take you to the Manage DAR Access page. Scroll down to the Admin User section. Fill out the required information which includes the administrator’s first/last name, email and eRA ID and click “add.” Once the eRA ID for the administrator is verified, both you and Administrator will receive an email notifying them that the administrator can now submit the Data Access Request.
For an Existing Data Access Request: You can also add an administrator to an existing Data Access Request. Log into DARM and navigate to “My Applications.” Click on either the “Approved” or “Expired” tab to locate the DAR you wish to add an administrator to. Select the DAR and click on “Manage Access” to access the Manage DAR Access page. Follow the instructions for adding an administrator as outlined above.
PI Review of a Submitted Data Access Request: You will receive an email notification once an administrator has submitted a Data Access Request on their behalf. This will appear under “my requests.” To review the application, click “Review Admin-Submitted DAR”.

You will be directed to the “Review Your DAR” page. Review each section of the Data Access Request submitted by the administrator.
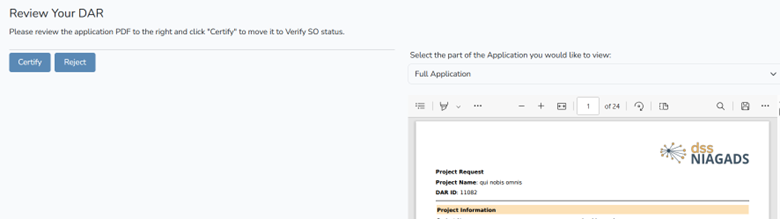
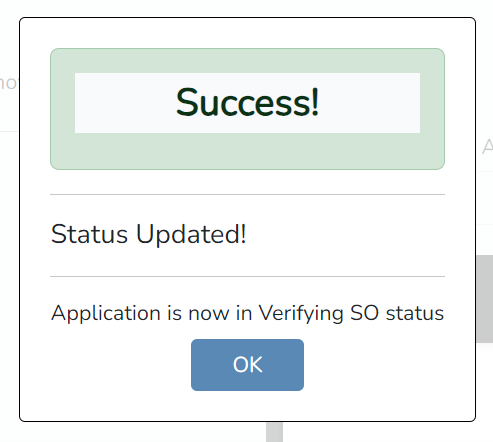
If the information is correct, and after reviewing the Data Use Certification provided in the application, click “certify.” The application will then be forwarded to the NIAGADS team for review.
If revisions are needed, click “Reject.” This action will return the application to the editing stage, where updates can be made by either you or the assigned administrator.
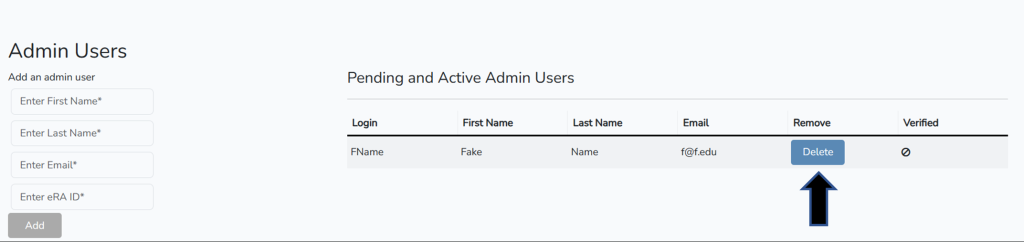
Removing an Administrator: Choose the Data Access Request for which you need to remove an Administrator’s access. Click on “Manage Access” on the left side of the screen, and then scroll down to the Admin Users section. Click the blue “Delete” button next to the name you intend to remove access for, under Pending or Active Admin users.
Instructions for Administrators
Logging into the Data Access Request Management System (DARM): Log into DARM using your eRA ID and password – https://dss.niagads.org/login/ and click on “Access DARM”.
Submitting a New Data Access Request on behalf of a PI: Prior to submission, Administrators can review the instructions on how to submit a Data Access Request here – https://dss.niagads.org/documentation/data-application-and-submission/application-instructions/.
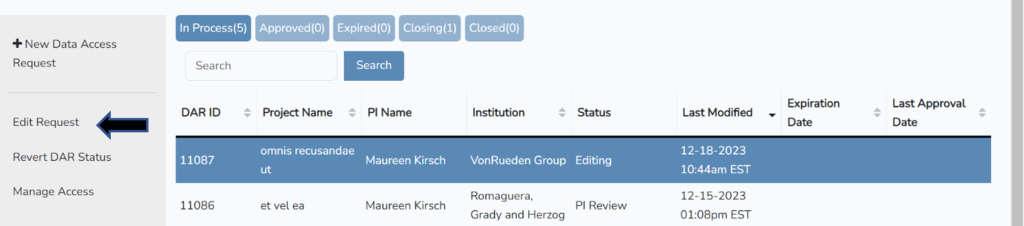
As an Administrator, you will receive email notification when a PI grants access to a Data Access Request for submission. When ready to submit, navigate to the “In Process” tab and select the Data Access Request you plan to submit. This action will activate the “edit request” tab on the left side. Click on “edit request,” which will then direct you to the Data Access Request (DAR) Form.
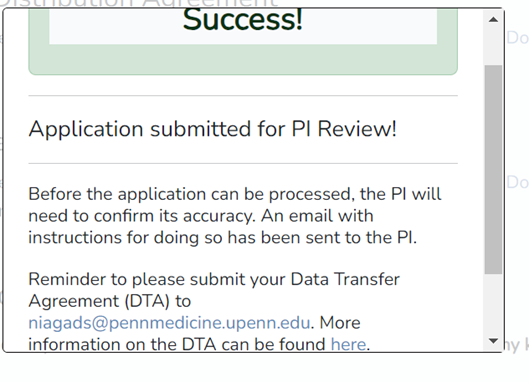
After providing all the necessary information, attaching the required forms, and reviewing the Data Use Certification form, click on the submit button.
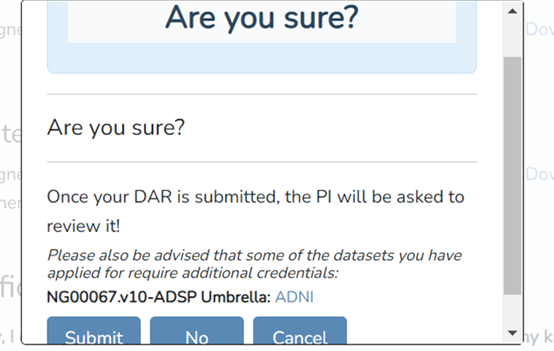
The Principal Investigator (PI) will now be prompted to review and submit the request before it undergoes review.
Revisions to an application: If the PI determines that edits are necessary for the application, they will “reject” your submission, placing it back in your queue. On the DARM Dashboard, choose the DAR that requires revision. Click on “edit request” on the left, leading you to the Data Access Request (DAR) Form where you can make the required changes. Click “submit” when the application is ready to be sent back to the PI for their review.

Submitting a Renewal on behalf of PI: Prior to submission, Administrators can review the instructions on how to submit a Renewal Data Access Request here – https://dss.niagads.org/documentation/using-the-darm/pi-user-guide/renewing-an-application/.
To initiate a renewal application, log into the DSS and click on “Access DARM.” Navigate to the “Approved” tab on your dashboard. [NOTE: if the application has expired, it can be found on the “Expired” tab].
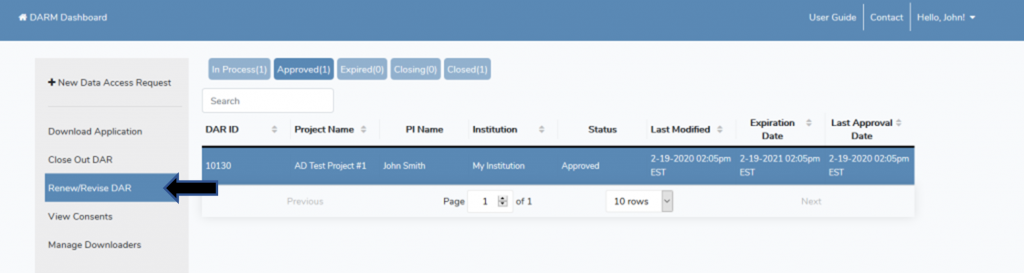
Select the application you wish to renew and click on “Renew/Revise DAR” in the left toolbar. A pop-up will appear confirming that a renewal application has been initiated. Click OK.
You will then be brought to the Data Access Request Management (DARM) form to submit the renewal.

Once the renewal information is entered and any necessary changes to the original application are made, you can submit the renewal by agreeing to the Data Use Certification and clicking “Submit” at the bottom of the page. The PI will now be prompted to review your submitted Data Access Request.
Submitting a Close-out DAR on behalf of PI: Prior to submission, Administrators can review the instructions on how to Close-out a Data Access Request here – https://dss.niagads.org/documentation/data-application-and-submission/close-out-instructions/.
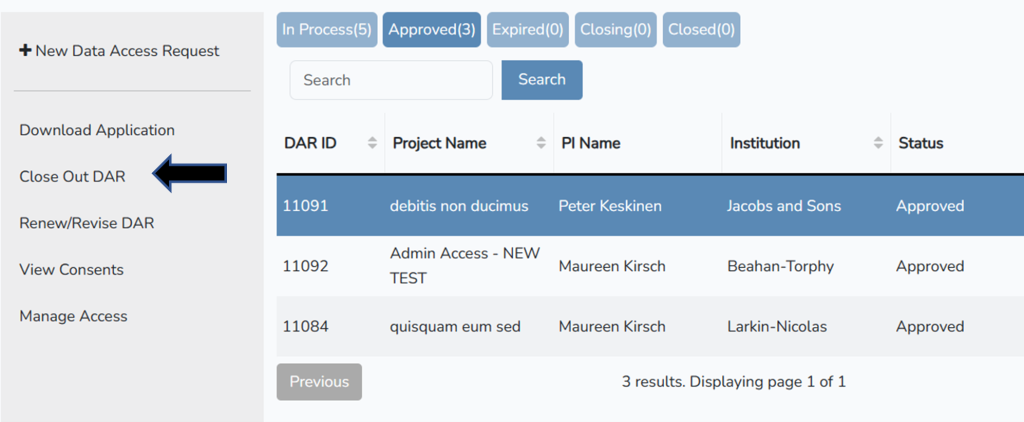
To initiate a Close-out application, log into the DSS and click on “Access DARM.” Navigate to the “Approved” tab on your dashboard. [NOTE: if your application has expired, it can be found on the “Expired” tab].
Select the application you wish to close and click on “Close Out DAR” in the left toolbar. A pop-up will appear confirming that a close-out has been initiated. Click OK.
Once all the required information is entered and the Data Destruction Policy has been confirmed, you can submit the close out by clicking “Submit” at the bottom of the page. The PI will now be prompted to review your submitted Data Access Request.
Adding Data Downloaders: To add a downloader on behalf of a PI, select the application and click on “Manage Access” in the left toolbar. Enter the eRA Commons ID and first/last name of the downloader you wish to add.
Reminder that downloaders must sign the Data Transfer Agreement and review the Data Use Certification Agreement in order to access the data. If you have already submitted a DTA for your application and the downloader you are adding was not listed, please submit a DTA Amendment.
If you have any questions regarding your DAR, or the DSS, please contact us at NIAGADS@Pennmedicine.upenn.edu.